 Arabic
 Chinese
 French
 German
 Hebrew
 Italian
 Japanese
 Portuguese
 Spanish
Display Computer Settings
To achieve best performance and reliability in your WATCHOUT system, you need to adjust several settings on all your display computers. Most of the settings below are found by clicking (Windows 7) or right-clicking (Windows 10) the Start button and choosing Control Panel.
Network
If you choose to use manual addressing for all your computers, follow the instructions given above under “Manual Addressing” to assign those addresses. Specify a unique IP number for each display computer by changing the last group of IP address digits.
NOTE: It is not usually necessary to assign addresses manually. When using automatic addressing, make sure you access display computers by name and not by address, in case automatically assigned addresses change (see “Computer”).
As an example: in a system consisting of one production computer and three display computers (in this case Dataton WATCHPAX servers), you would end up with IP addresses assigned as shown in the illustration below.

If your WATCHOUT subnet is not stand-alone but connected to a larger network, you should consult your network administrator for the correct IP number, subnet mask, and other parameters.
Display Properties
- In your computer’s Control Panel, choose “Display” then “Adjust Resolution.”
- Set “Resolution” to match the desired resolution for the display. If you have multiple displays connected, select each display and set its resolution and other parameters.
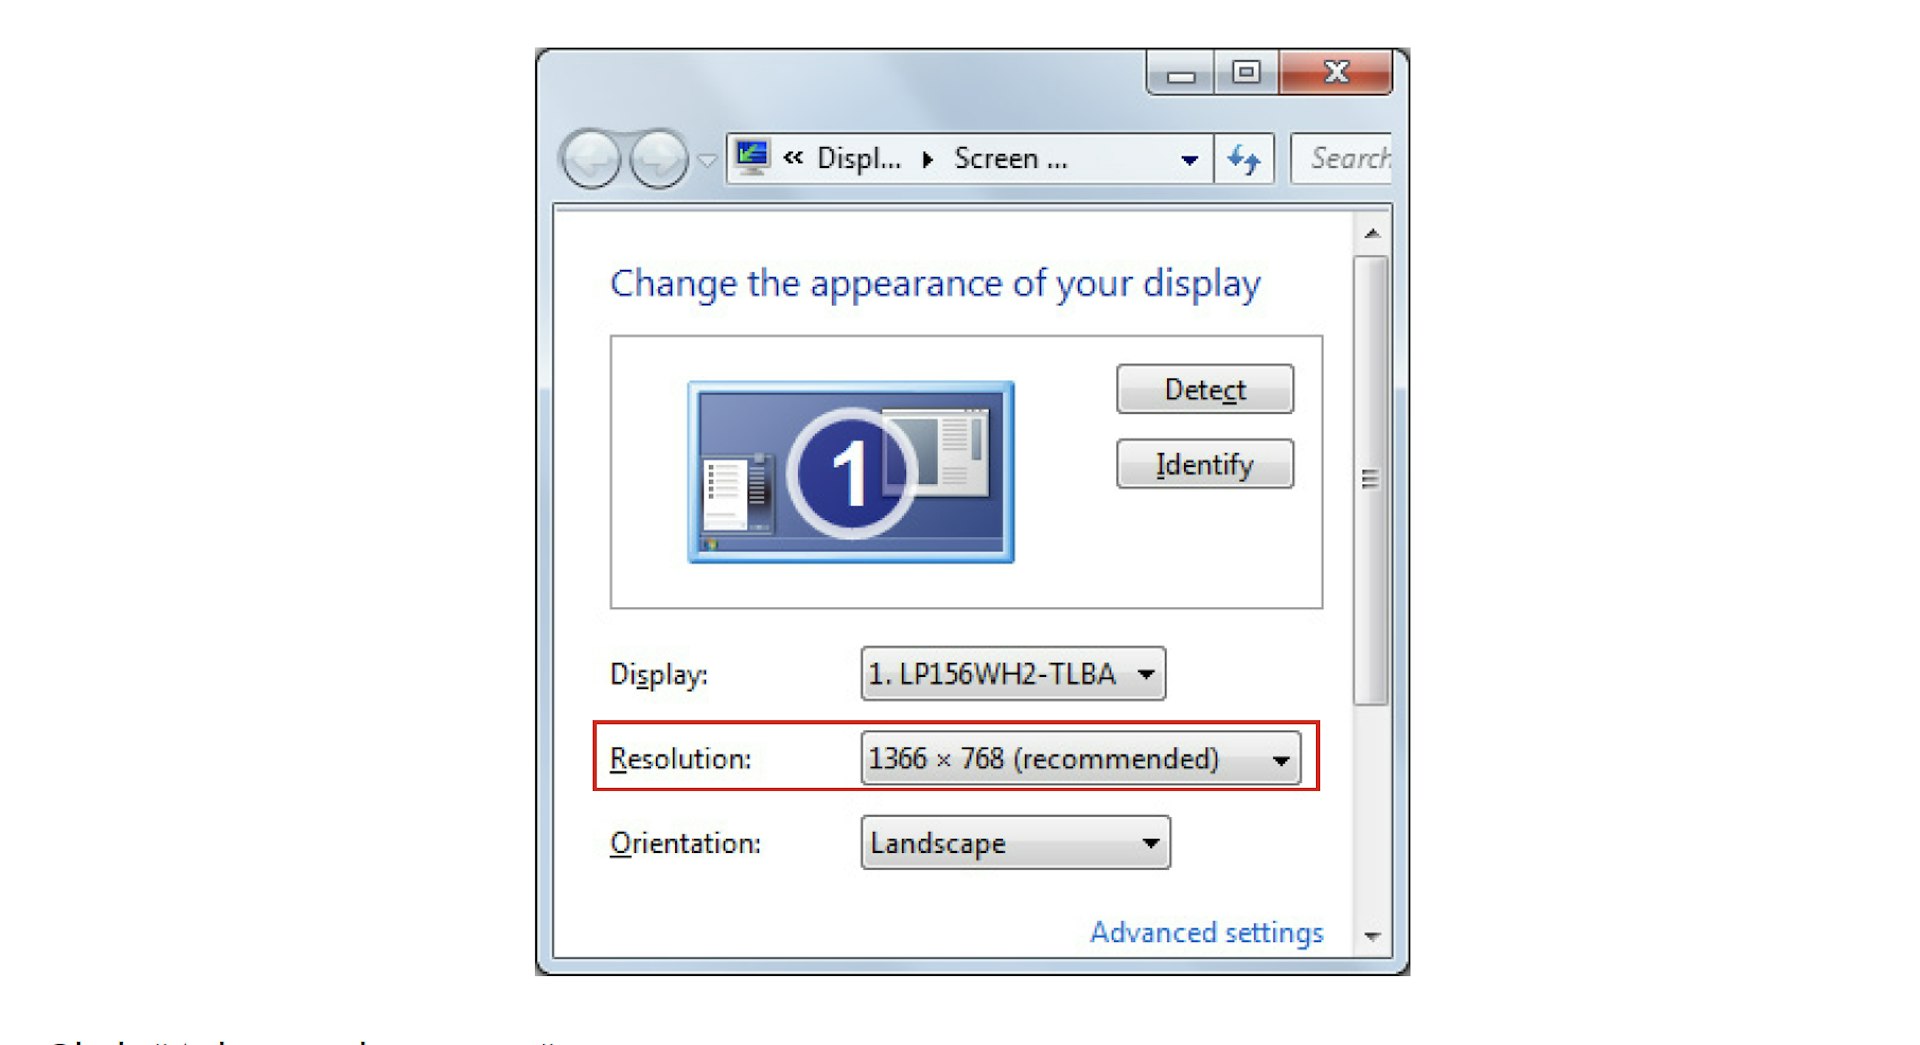
- Click “Advanced settings.”
- Click the Monitor tab and set “Screen refresh rate” as set in your WATCHOUT presentation (see “Display Framerate”), and click OK.

In most cases you should choose “60 fps” in the WATCHOUT Preferences dialog box, and set the display’s refresh frequency to 60 Hz.
Some system configurations don’t allow you to change the refresh rate. In this case, the Refresh rate option will not be shown under the Adapter tab. This may vary depending on the display card, display card drivers and the display connected to the system.
IMPORTANT: While WATCHOUT will attempt to set the display resolution automatically, setting the resolution manually is usually preferable. The reason is that some display adapters don’t allow WATCHOUT to set the most optimal display refresh frequency. By setting the display resolution and refresh frequency manually before starting WATCHOUT, you avoid the risk of getting a non-optimal display frequency.
Sound Settings
When using a display computer for sound playback, you must enable the correct sound output and turn up its volume. Open the Sound control panel and make sure the correct output is activated. If not, select the desired playback device and click “Set Default”.
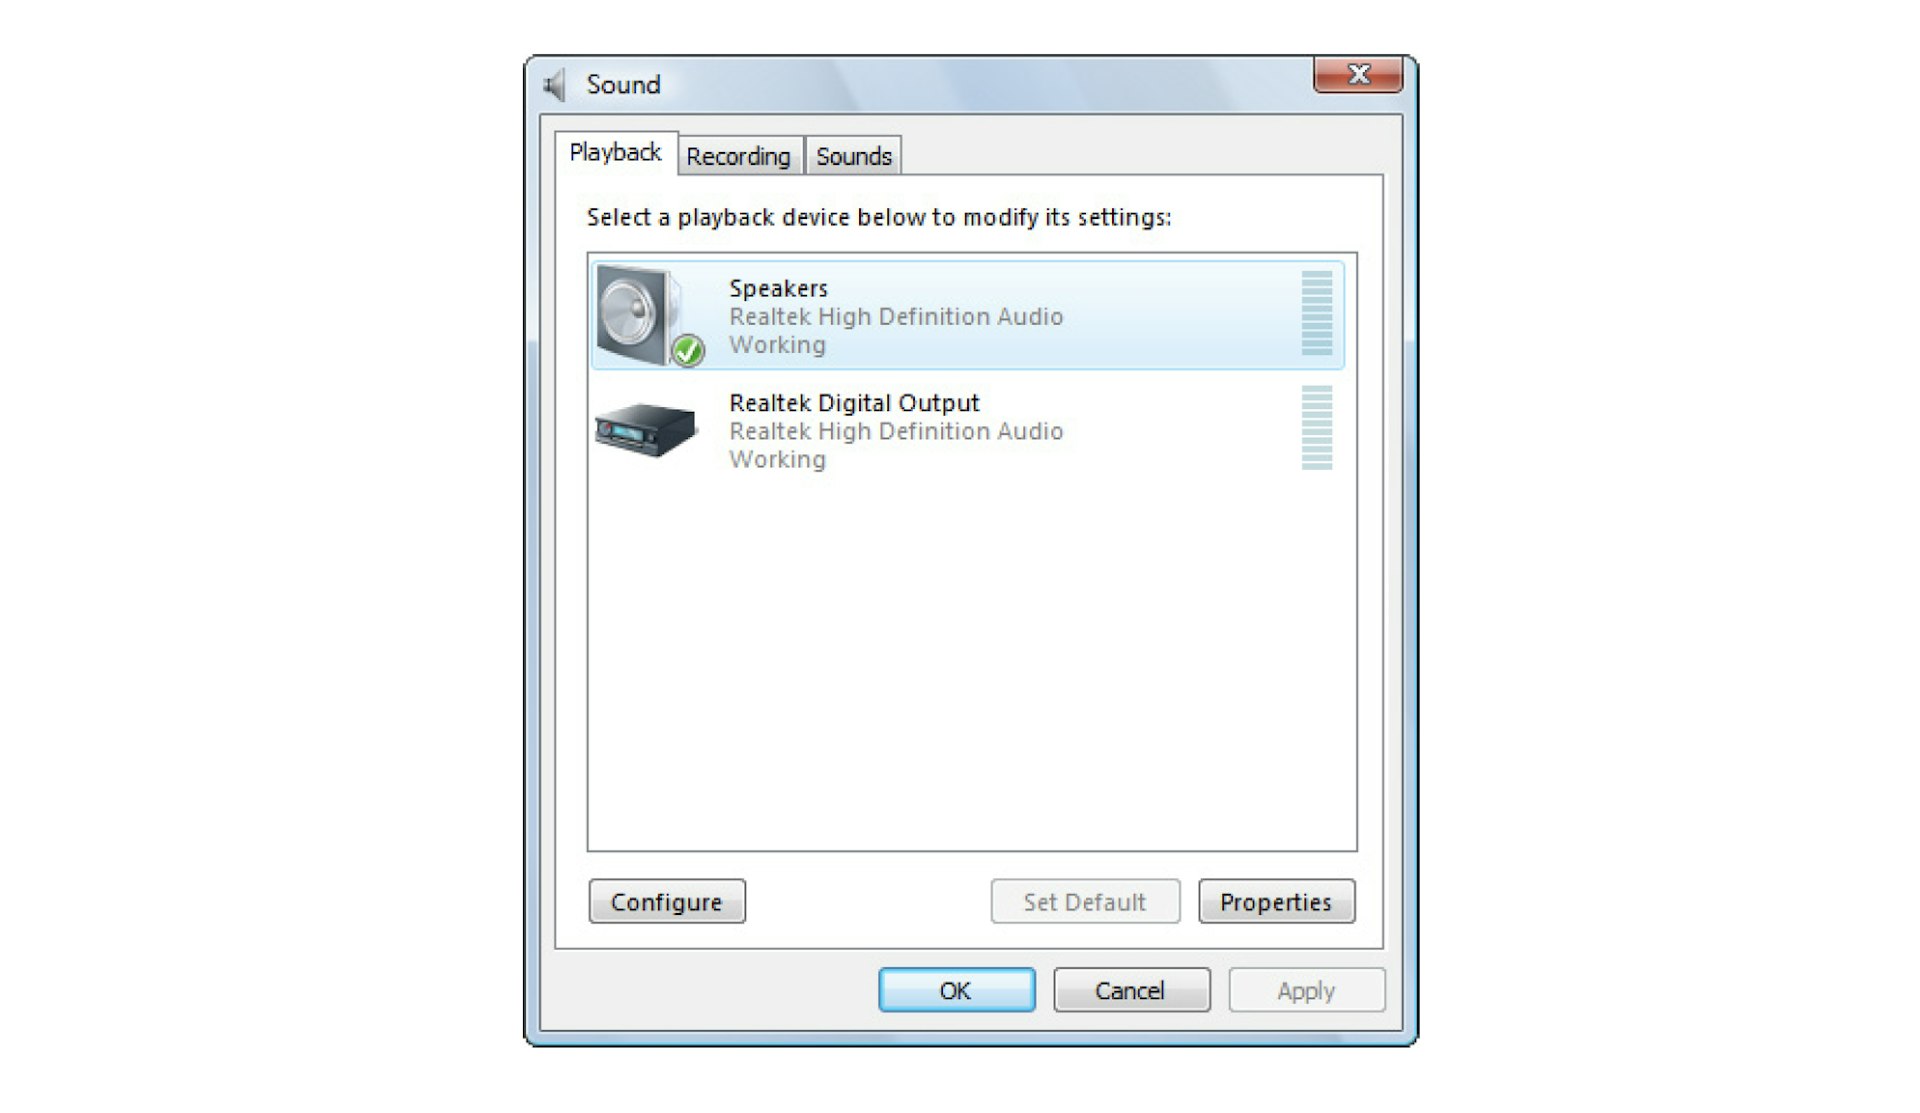
Once you have selected the desired output in the list shown on the previous page, click Properties and turn up the volume under the Levels tab as shown in the screenshot below.
NOTE: In some cases, such as when dealing with multi-channel sound systems, you may also need to configure the sound outputs in WATCHOUT (see “Audio Device Setting”).

Auto-starting WATCHOUT
If you want WATCHOUT display software to start automatically when you turn on your computer, install a shortcut to the display software in the Startup folder like this:
- Under Windows 10: open the Startup Items folder by pressing Windows-R to open the Run dialog box and entering “shell:startup” (without the quotes).
- Under Windows 7: click the Start button and choose “All Programs”. Right-click on “Startup” and choose Open.
- Open your WATCHOUT installation folder and locate the program named WATCHPOINT, which is the WATCHOUT display software application.
- Using the right mouse button, drag WAT CHPOINT from the WAT CHOUT installation folder into the Startup folder, then choose “Create Shortcut here”.
- Restart your computer to verify that the display software starts as desired.
IMPORTANT: Make sure you drag using the right mouse button to create a shortcut in the Startup folder. Do not move the WAT CHPOINT program into this folder.
In addition to launching WATCHOUT, this shortcut can also pass on various optional parameters. These parameters can further control how WATCHOUT is started, as well as initiate various automatic actions. See the appendix on Command Line Options for full details.
NOTE: In some cases, other programs that also start automatically may load after WATCHOUT and interfere with WATCHOUT, for example causing it to not start in full screen mode. If so, use the “-Delay” command line option to delay the start of WATCHOUT as needed.