 Arabic
 Chinese
 French
 German
 Hebrew
 Italian
 Japanese
 Portuguese
 Spanish
Preview Menu
Click Selects Frontmost Image
When this option is selected, clicking an image preview in the Stage window always selects the corresponding cue in the Timeline window. While this is the most natural behavior in many cases, it may get in your way if you want to move an image that appears partially obscured behind another image. In this case, uncheck this menu option, select the cue corresponding to the image to be moved, then drag the image in the Stage window.
Preview Quality
Control the overall preview quality of images in the Stage window using the following four commands.
Best Quality. Renders high quality preview of all cues except those explicitly set to “Preview: Reduced” (see “Preview”).
Video as Thumbnails. Uses low resolution thumbnails as video preview. This speeds up editing of presentations that have many large video clips playing at the same time.
Thumbnails. Uses low resolution thumbnails of images and video for the Stage window preview. While the image quality in this mode is very low, its performance is high – particularly when dealing with numerous, very large images.
Wireframe. Displays all images as boxes with the name of the media item, rather than showing the image. This is sometimes useful when trying to position images, or to track down images obscured by other images.
HINT: As an alternative to selecting global thumbnail preview for images or video, you can set individual cues to preview as thumbnails by selecting “Reduced” on the “Preview” pop-up menu in each cue.
Perspective
In general, you want the Stage preview to match what you see on screen in terms of media placement and perspective. However, the perspective view can make some editing operations harder. If so, you can turn off the perspective preview using this command, causing the Stage window preview to appear in an ortographic mode.
NOTE: The amount of perspective applied to images rotated or positioned in 3D space is controlled by the Perspective slider in the Preferences dialog box.
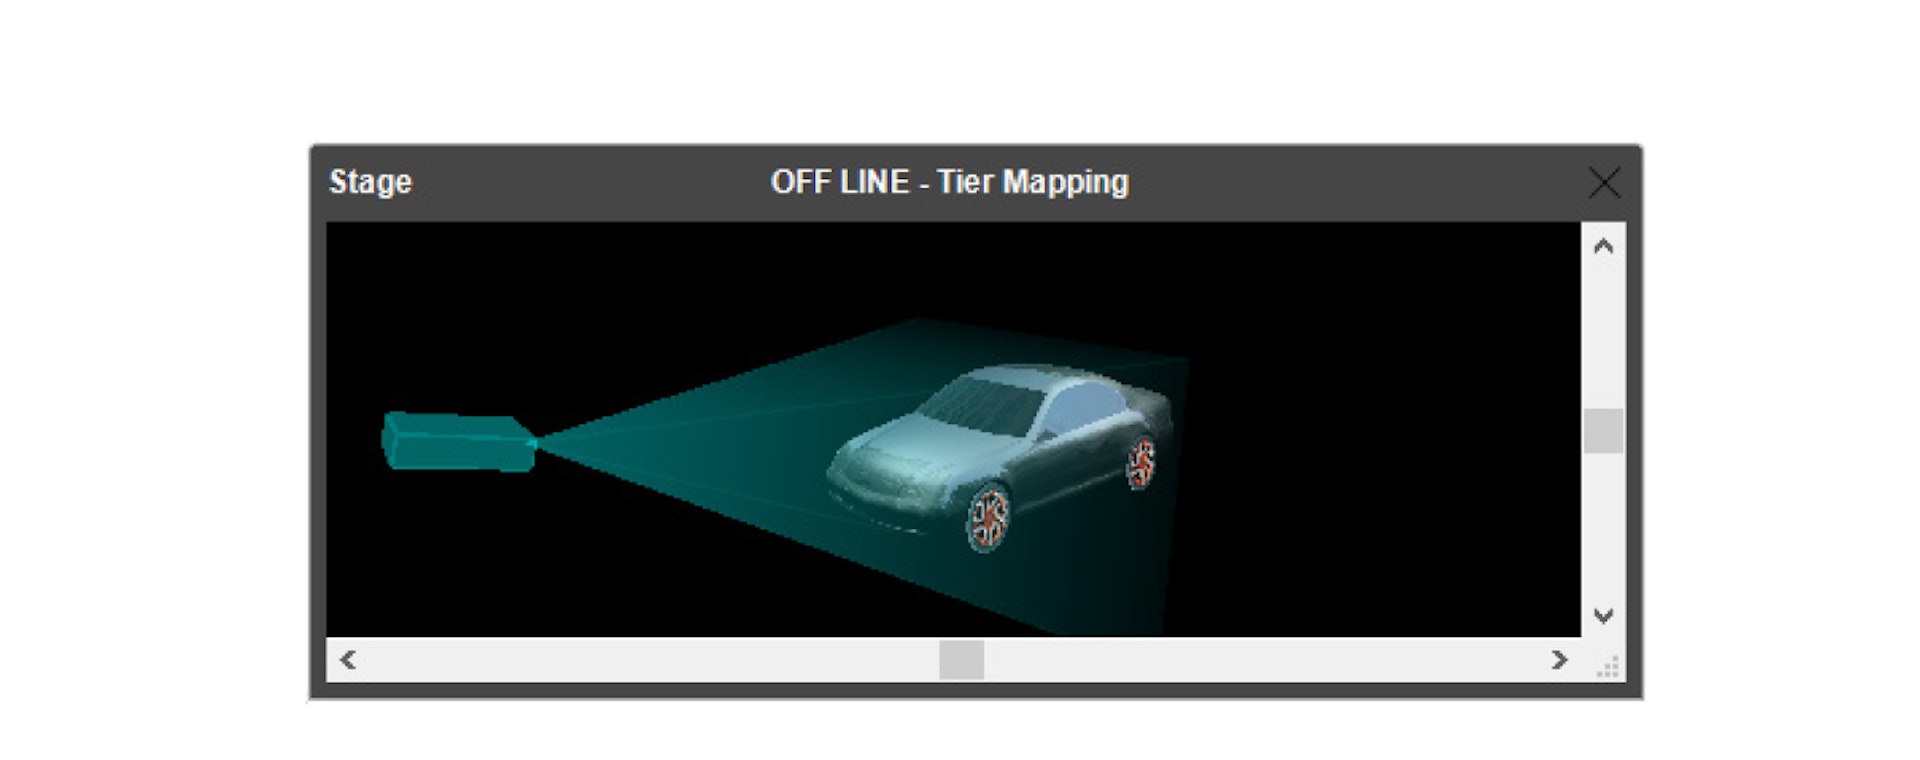
Projector Beams
Normally, the beam of a 3D Mapping Projector is shown only when the projector is selected in the Stage window. Use this command to always display projection beams.
HINT: The color of the beam is set in the projector’s dialog box. When using multiple projectors, set them to different colors to tell them apart.
Masked by Displays
Masks images to the areas inside the displays. This provides a more accurate representation of what is actually shown by the display computers. However, it also makes it harder to edit the presentation, since images positioned outside the displays disappear.
Outline Dimmed Images
When an image is dimmed using an opacity tween track, it may become hard to see and manipulate in the Stage window. Selecting this option causes a thin frame to be displayed around such images, making them easier to see.
Preview Standby Layers
When activated, the Stage window will show the same images as the display computers while in standby mode (that is, any images from standby layers – see “Perform Normal/In Standby/Both”). This allows you to edit such images through the Stage window.
However, in most cases, you probably prefer to see the normal images in the Stage window even while in standby mode, in order to preview and possibly edit those while the display computers show the standby images. This can be accomplished by un-checking the “Preview Standby Layers” menu item.
Play Audio Media
By default, the production computer plays all audio cues. You can turn off this behavior using this menu option, thereby reducing the processing overhead associated with audio playback.
No / All / Enabled Conditional Layers
These three menu items control the extent to which images originating from conditional layers appear in the Stage window. (See “Condition” and “Enabled Layer Conditions” for more on conditional layers).
Enable Layer Conditions
Specifices which layer conditions will be enabled. Each layer in the Timeline window can be associated with a condition, in which case media on that layer will only appear when the corresponding condition is enabled. You can specify any combination of conditions.
Generally, you want images originating from enabled layers only to appear in the Stage window, which is accomplished by choosing “Enabled Conditional Layers”. To preview images from all conditional layers, regardless of whether or not they are enabled in the Preferences dialog box, select “All Conditional Layers”.
All / Active / Specific Stage Tiers
Just as timeline layers can use conditions to enable/disable their cues (as described in the previous paragraph), timelines and their layers can also be associated with stage tiers. Cues on such timelines or layers will only appear on displays on those specific tiers. The commands in this group of the Preview menu control what’s shown in the Stage window in this case. By selecting “All Stage Tiers”, the Stage window will preview cues regardless of their stage tier association. Select “Active Stage Tier” to preview cues on layers associated with the tier specified on the Stage Tier sub-menu. Selecting “Specific Tiers” brings up a dialog box where you choose any combination of stage tiers to preview.
NOTE: Cues on timelines and layers not restricted to specific tiers will always be included in the preview, regardless of the preview mode chosen using these menu options.
Background Color
Sets the background color of the Stage window. If your source material is hard to see on the default (black) background, then change to another color.