Arabic
 Chinese
 French
 German
 Hebrew
 Italian
 Japanese
 Portuguese
 Spanish
STEP 3
Reset to factory settings
At this point the recovery SSD has been updated and the system can be reset to the updated version. This resets all partitions to factory settings and all user data will be lost.
The reset menu is hidden by design in order to avoid accidental resets or misuse. To reset your WATCHPAX 40 device, follow these steps:
1. Power on the WATCHPAX 40.
2. During startup, you will see a five-second countdown in the top left corner of the display. Press Esc during this countdown.

NOTE: If you don’t see a counter, it means the display device is slow to lock to the output using
DisplayPort. Press Esc repeatedly after power-on to move to the menu below.
3. Select the “RESET TO FACTORY SETTINGS” option in the menu that appears, and press Enter.

4. IMPORTANT: There will be no confirmation: the reset process starts immediately, providing some visual feedback.
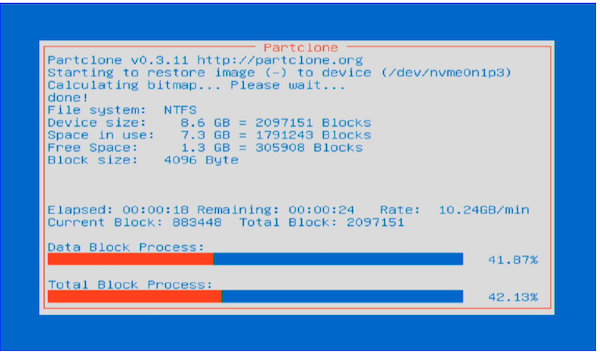
5. The WATCHPAX 40 will restart several times in order to configure the operating system and hardware.

IMPORTANT: Do not power off the device during the configuration process!
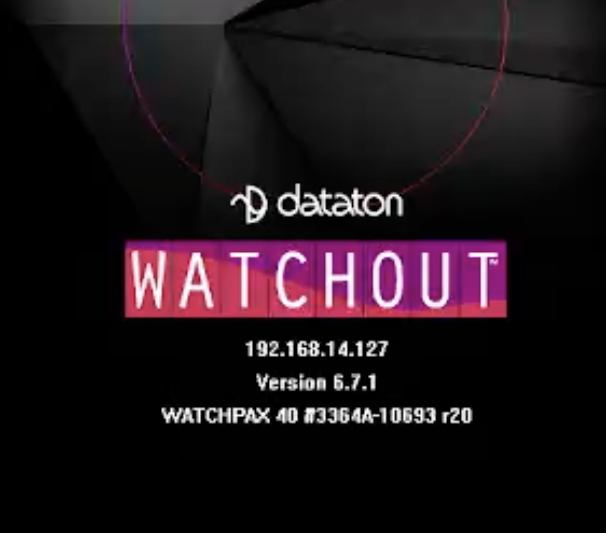
6. WATCHOUT will start when the process is complete. The system image version will be appended after the serial number (r20 in this example).